Permission Settings: Google Tag Manager
How To Set-up & Change Permissions in Google Tag Manager
Last updated: January 10, 2022
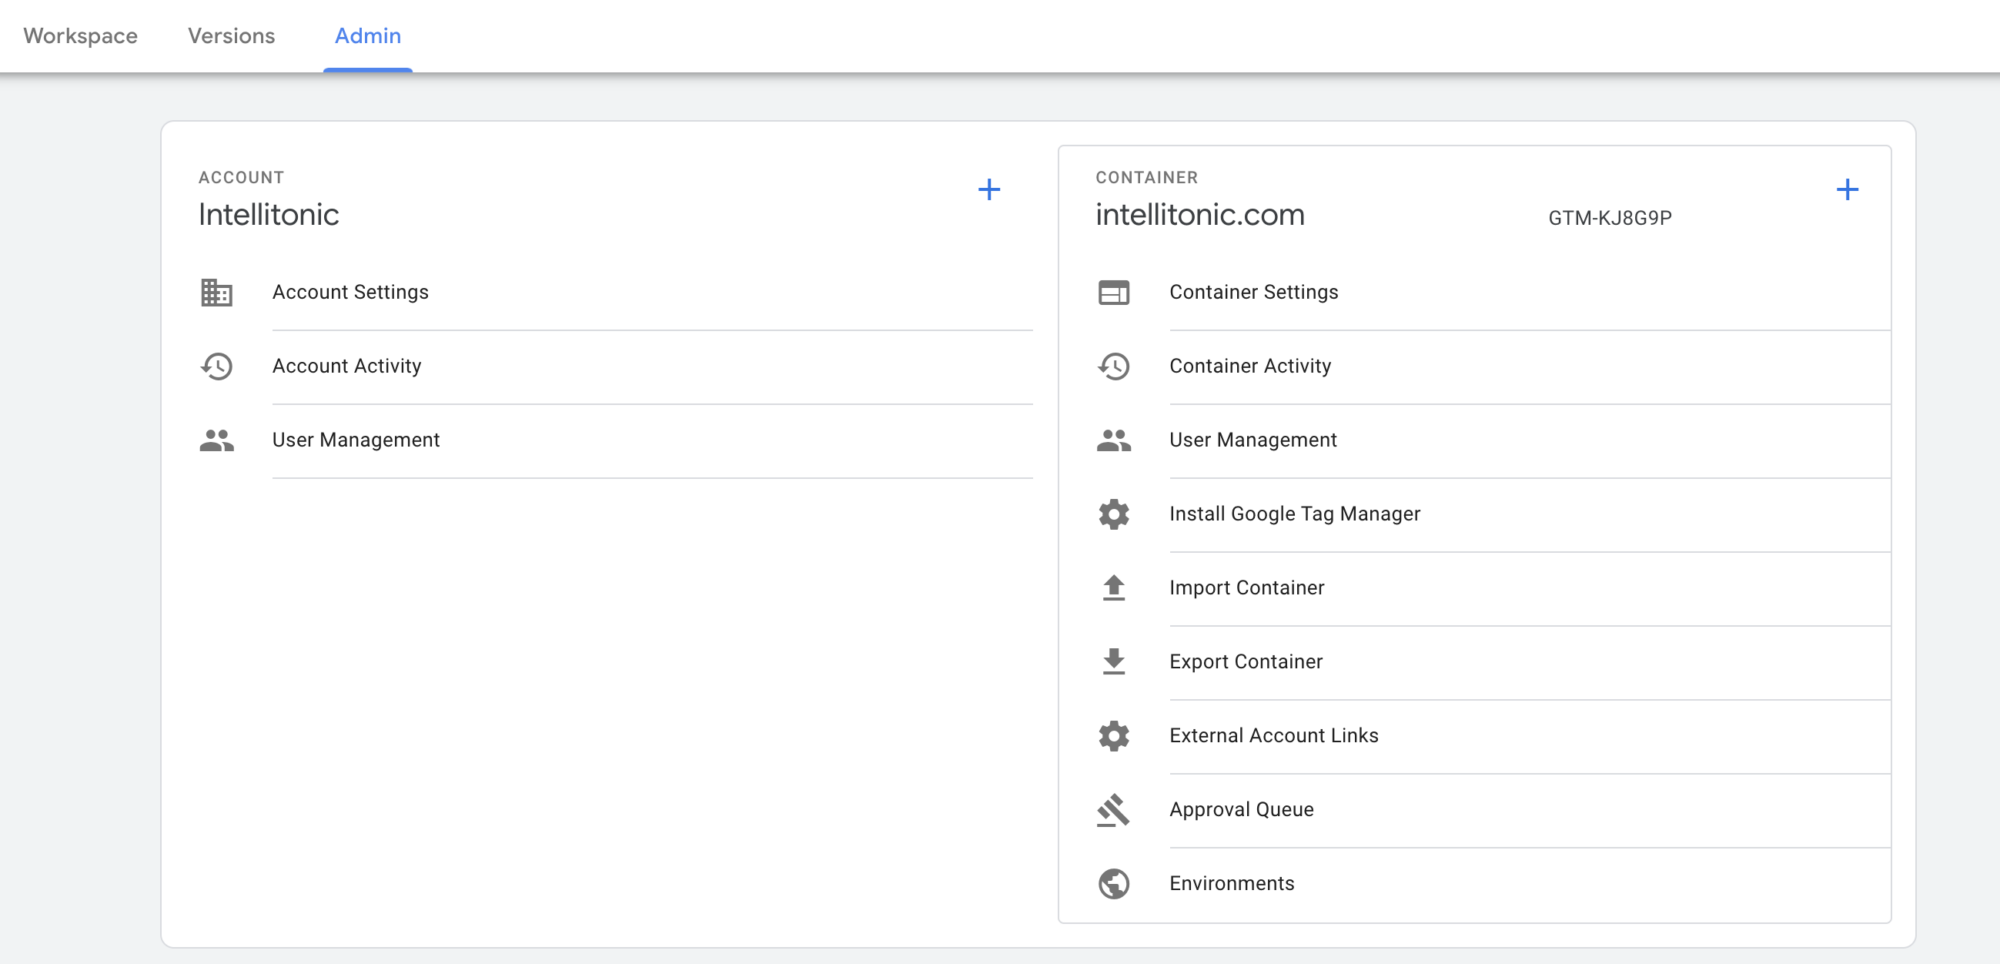
To grant access to your Google Tag Manager account on the administrator level, sign in and click “Admin”. In the Account Column select “User Management”. Click the blue circular plus “+” sign button. Select “Add New Users” and add the new user email address. (You may also fine-tune permissions for specific containers on the “Container Permissions” table.) See screen shots below for further clarification.
Administrator Permission Levels & Explanation
Permission
Explanation
Administrator
Has permission to create new containers and modify user permissions for accounts and containers.
User
This level allows the user to view basic account information. (This permission is selected by default.)
Container Permissions & Explanation
Permission
Explanation
No Access
The user will not see the container listed in the account.
Read
The user will see the container listed and may browse the tags, triggers, and variables in the container, but will not have the ability to make any changes.
Edit
The user has rights to create workspaces and make edits but not create versions or publish.
Approve
The user has rights to create versions, workspaces, and make edits but not publish.
Publish
The user has full rights to create versions, workspaces, make edits, and publish.
See Screen Shots For Further Clarification