
How to compress images in WordPress and enable lazy loading step by step. There are multiple image compression options, including automating image compression in WordPress by autoptimizing gzip compression, or downloading optimized images from Pagespeed Insights. Lazy loading is our preferred method for reducing the loading time for the first contentful print.
Recording Image Loading Speed Before Optimization
Record and screenshot the current site performance in the following tools:
- PageSpeed Insights
- Click the download at the bottom of the page (The download link text is “Download optimized image, JavaScript, and CSS resources for this page.”)
- https://www.webpagetest.org/
Optimizations are usually grouped into a few categories:
- Resizing and optimizing images
- Compression
- Caching
- Minification
- Asynchronous / deferred loading
Optimizing Images
Our first step with images is to make sure they’re properly sized for how they’re being served (often clients will serve ultra-high-res images at small sizes). This is usually the biggest factor in site load time.
WordPress
- Log in to WordPress admin dash
- Install EWWW Image optimizer plugin
- Install Enable Media Replace plugin
- Go to the EWWW Optmizer page
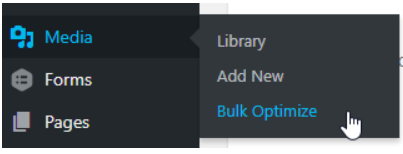
- Scan for images to be optimized and run the optimizer. This will probably take some time but other work can be completed while it runs.
- After it’s complete, run PageSpeed again and download the optimized resources at the bottom of the report
- Work through the list of images reported
- Copy the filename from the pagespeed report
- Search for the filename in WordPress -> Media -> Library
- Click into the image
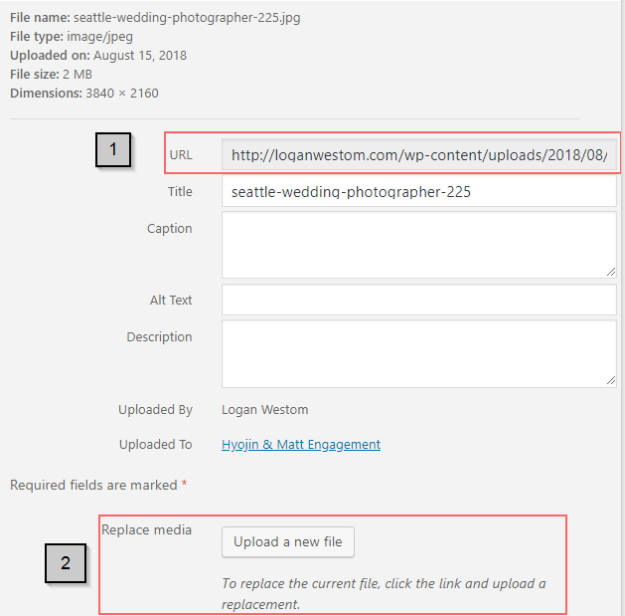
- (1) Download a backup of the original image
- (2) Upload the optimized version you downloaded from the PageSpeed report
Compression and Caching
WordPress
- Install Hummingbird
- Navigate to the Hummingbird plugin in the WordPress admin interface
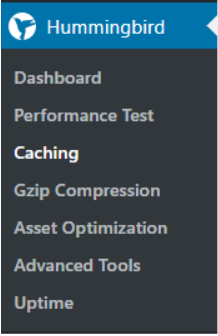
- Run the performance test
- Follow the instructions in the Caching and Gzip Compression sections to enable these features
Minification
- Install Autoptimize
- Navigate to Settings -> Autoptimize
- Enable HTML, CSS, and JS optimization on the main tab and apply changes
- Double check the website to ensure nothing is visually or functionally broken
Asynchronous / Deferred Loading
- This step is the most likely to screw up the site, so be prepared to visually inspect the site and roll-back changes if necessary
- Install Async JS
- Navigate to Settings -> Async Javascript
- Under Quick Options, select “Apply Defer (jQuery excluded). This seems to be the most consistently effective configuration that tends to not destroy sites.

- Visually and functionally inspect the site to ensure this hasn’t broken anything, be thorough. You’ll want to pay close attention to forms, galleries, sliders, video displays, etc.
Was this article helpful? Let us know.